A remote-controlled car controlled by a smartphone (or Xbox pad controller). With just a few taps on your smartphone, you can maneuver the car with precision.
Story
I've always enjoyed building with Lego bricks, but rather than following the provided instructions, I preferred bringing my own ideas to life. Recently, I've delved into the world of Raspberry Pi, appreciating its capabilities, as well as being aware of its limitations. For projects involving moving components, I used to connect servos to the Raspberry Pi. However, as we all know, servos have their downsides – they're noisy, imprecise, and prone to malfunction.
Lately, I've been working on an open-source PCB project called SaraKIT. This innovative board allows us to control BLDC Gimbal Motors with remarkable precision, achieving fractional angle control, silence, and impressive power. With a collection of Lego bricks left from my previous endeavors, I've always dreamt of building an ultra-quiet and incredibly fast vehicle, one that could be effortlessly maneuvered via phone or computer using simple instructions. Of course, it's entirely possible to incorporate a camera, object recognition, line tracking, or whatever creative idea strikes you.
(As a matter of fact, I've also wanted to construct a second vehicle – a self-balancing one – which I've already built and will detail in a separate project.)
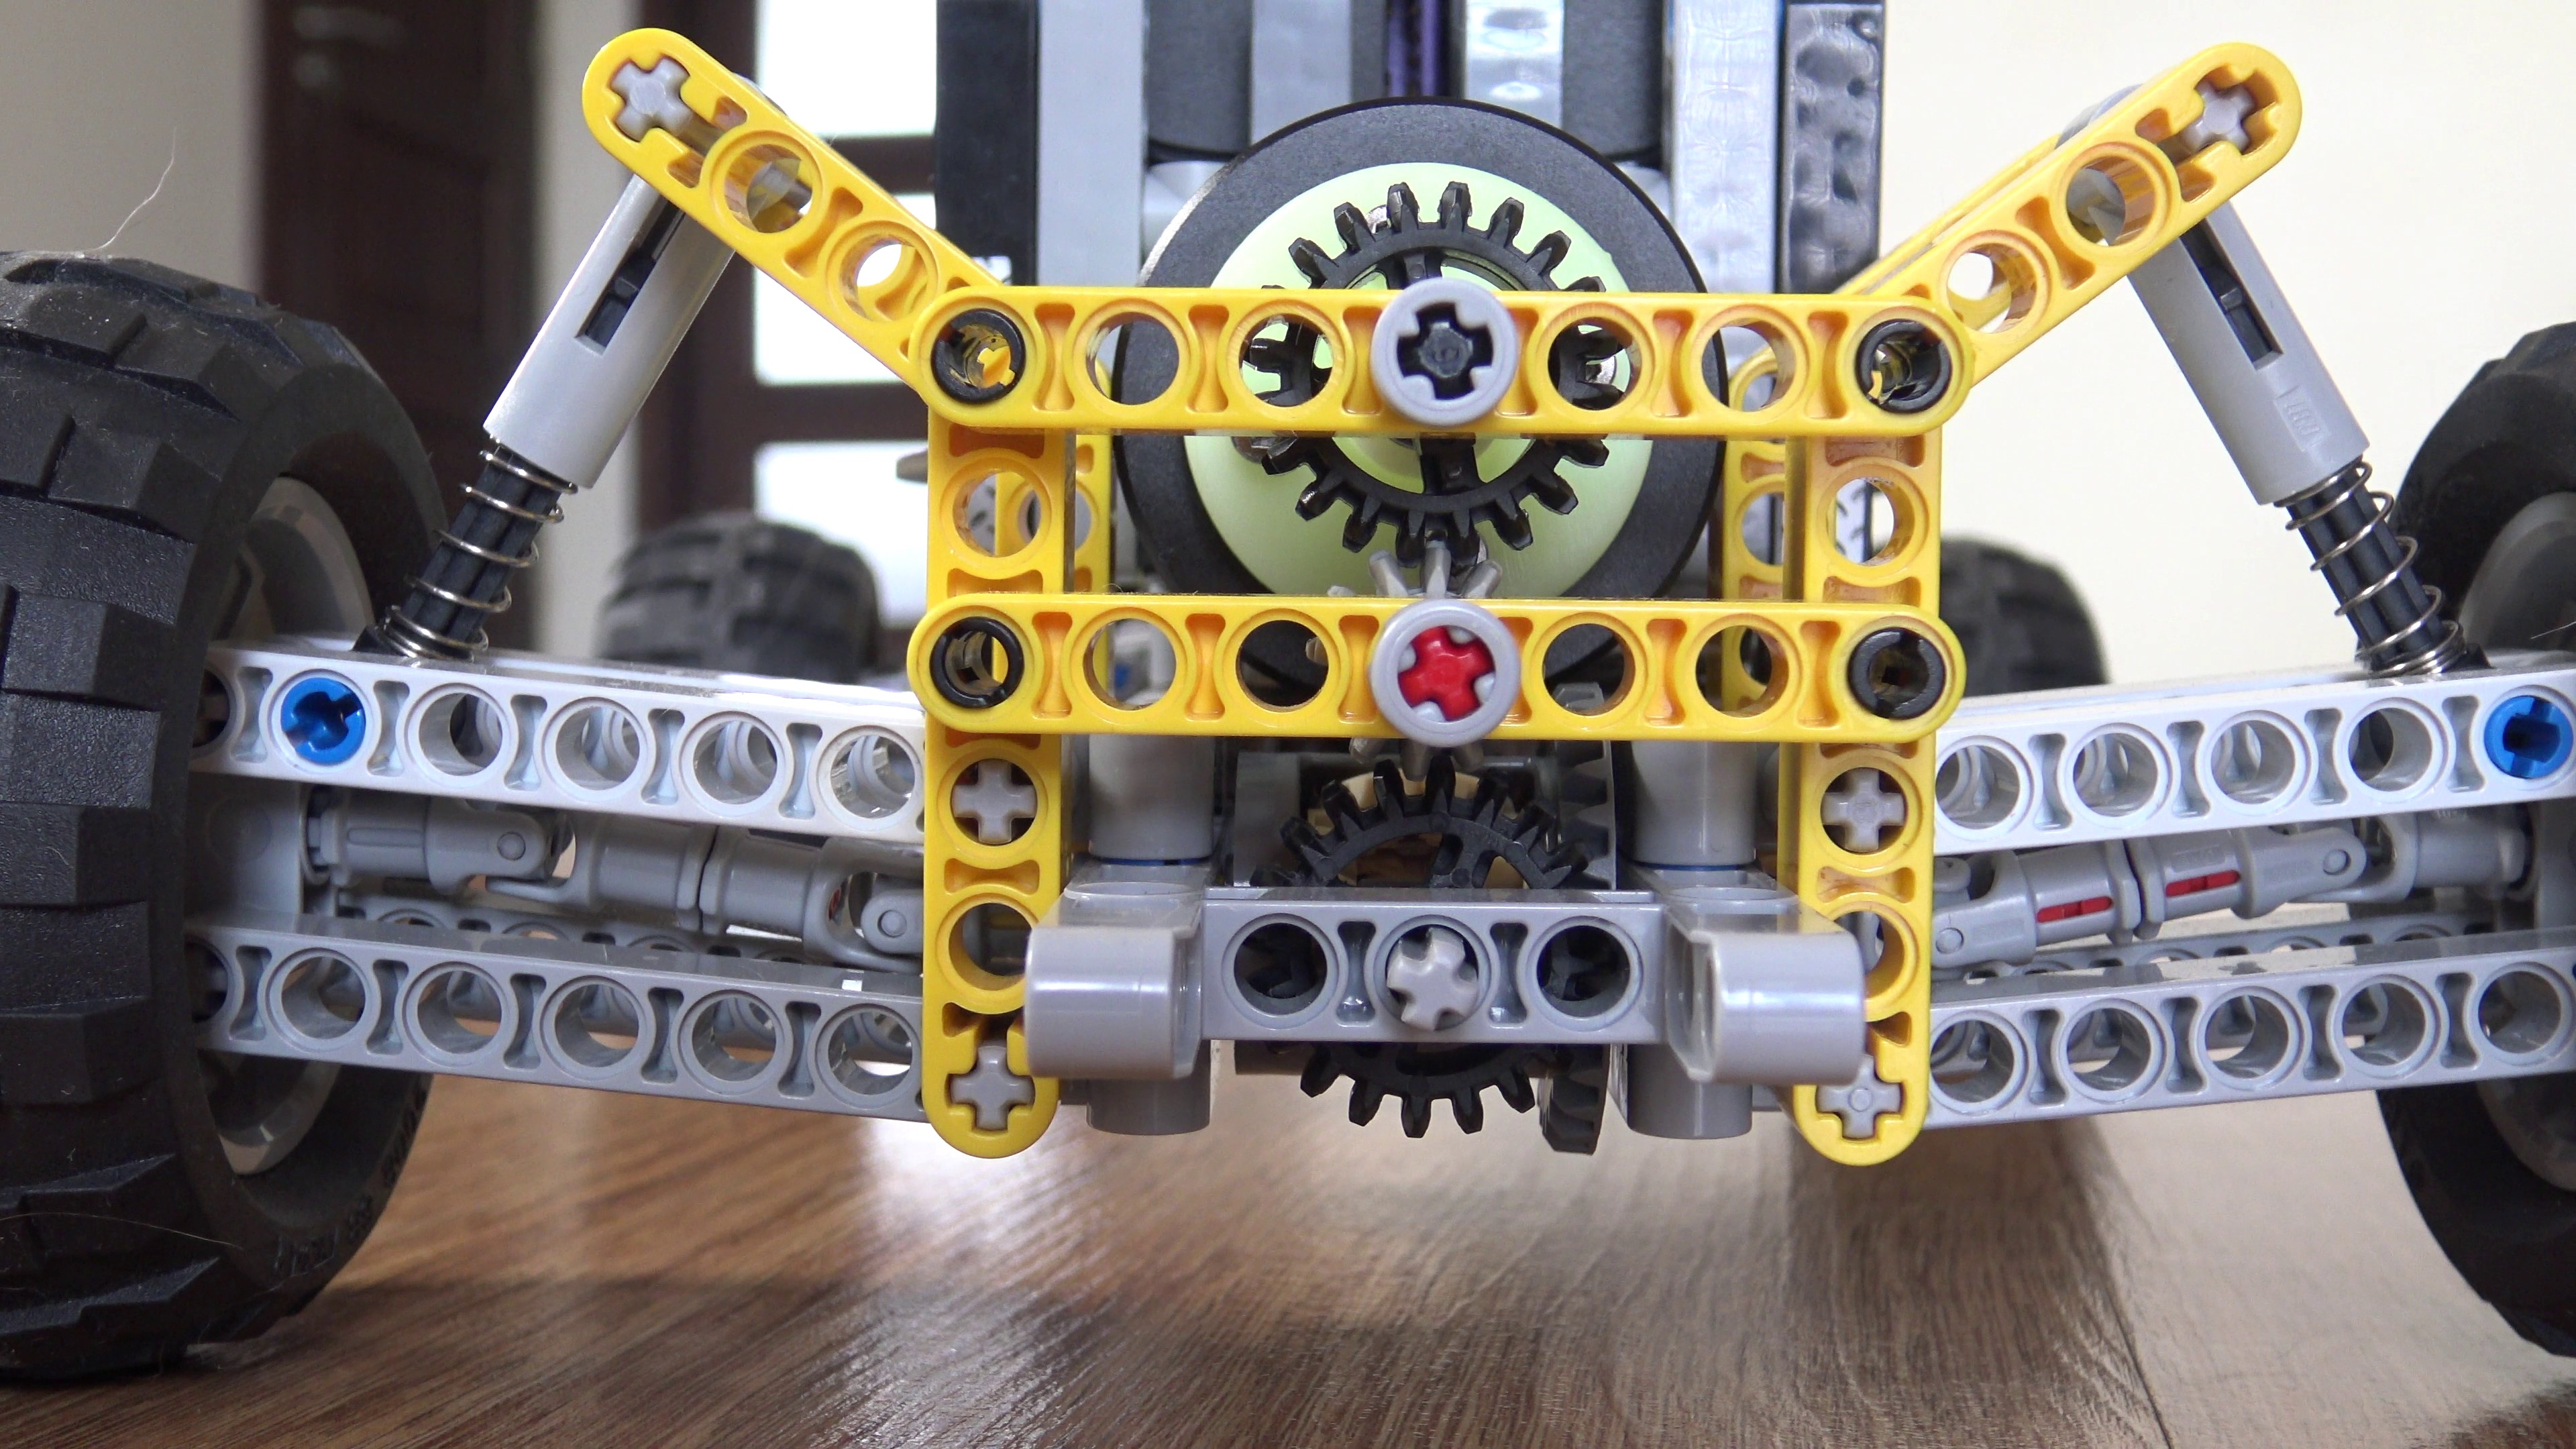
Below, I'll describe the first of these projects – a sleek, fast, and silent Lego car, featuring highly precise, independent 4-wheel drive with two differentials (though you're welcome to implement simpler suspension systems):
We can adjust the speed and power of the car by changing the arrangement of gears at the rear of the vehicle.
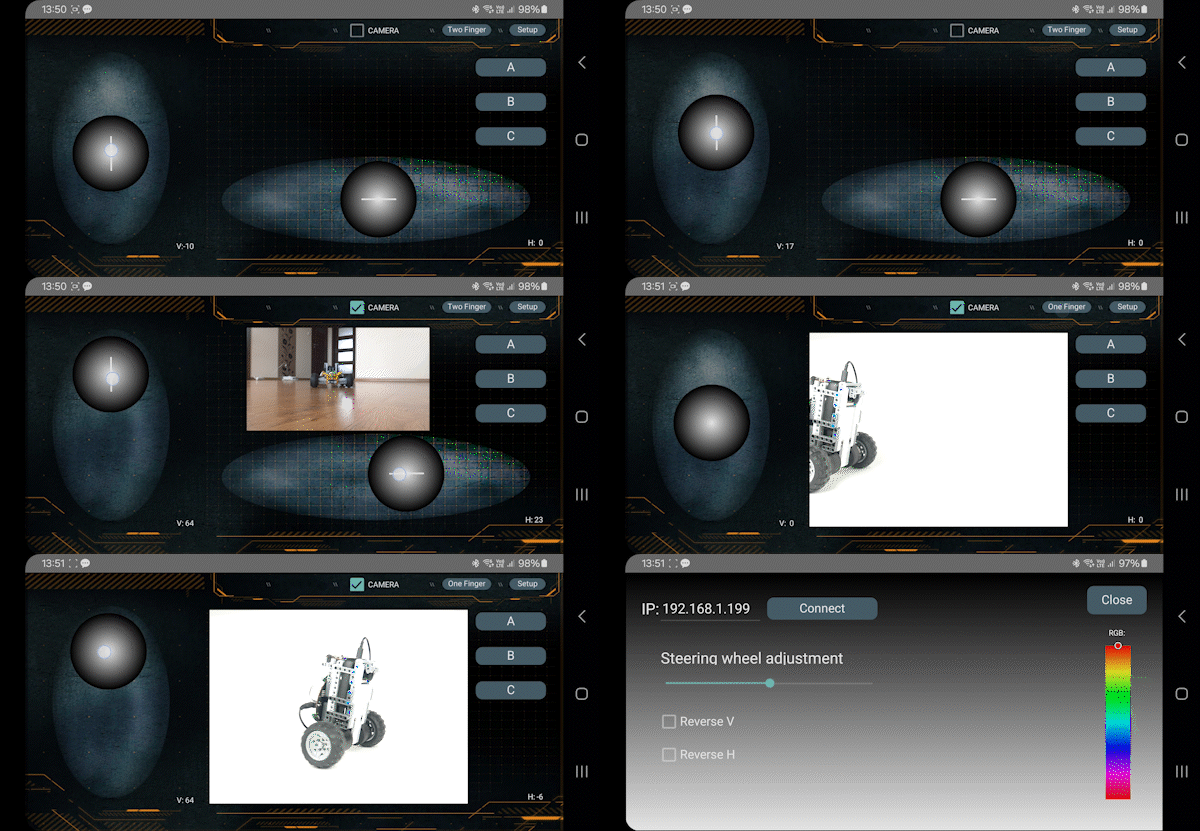
Remote Controller on GitHub: https://github.com/SaraEye/SaraKIT-RCCar-Remote-Controller
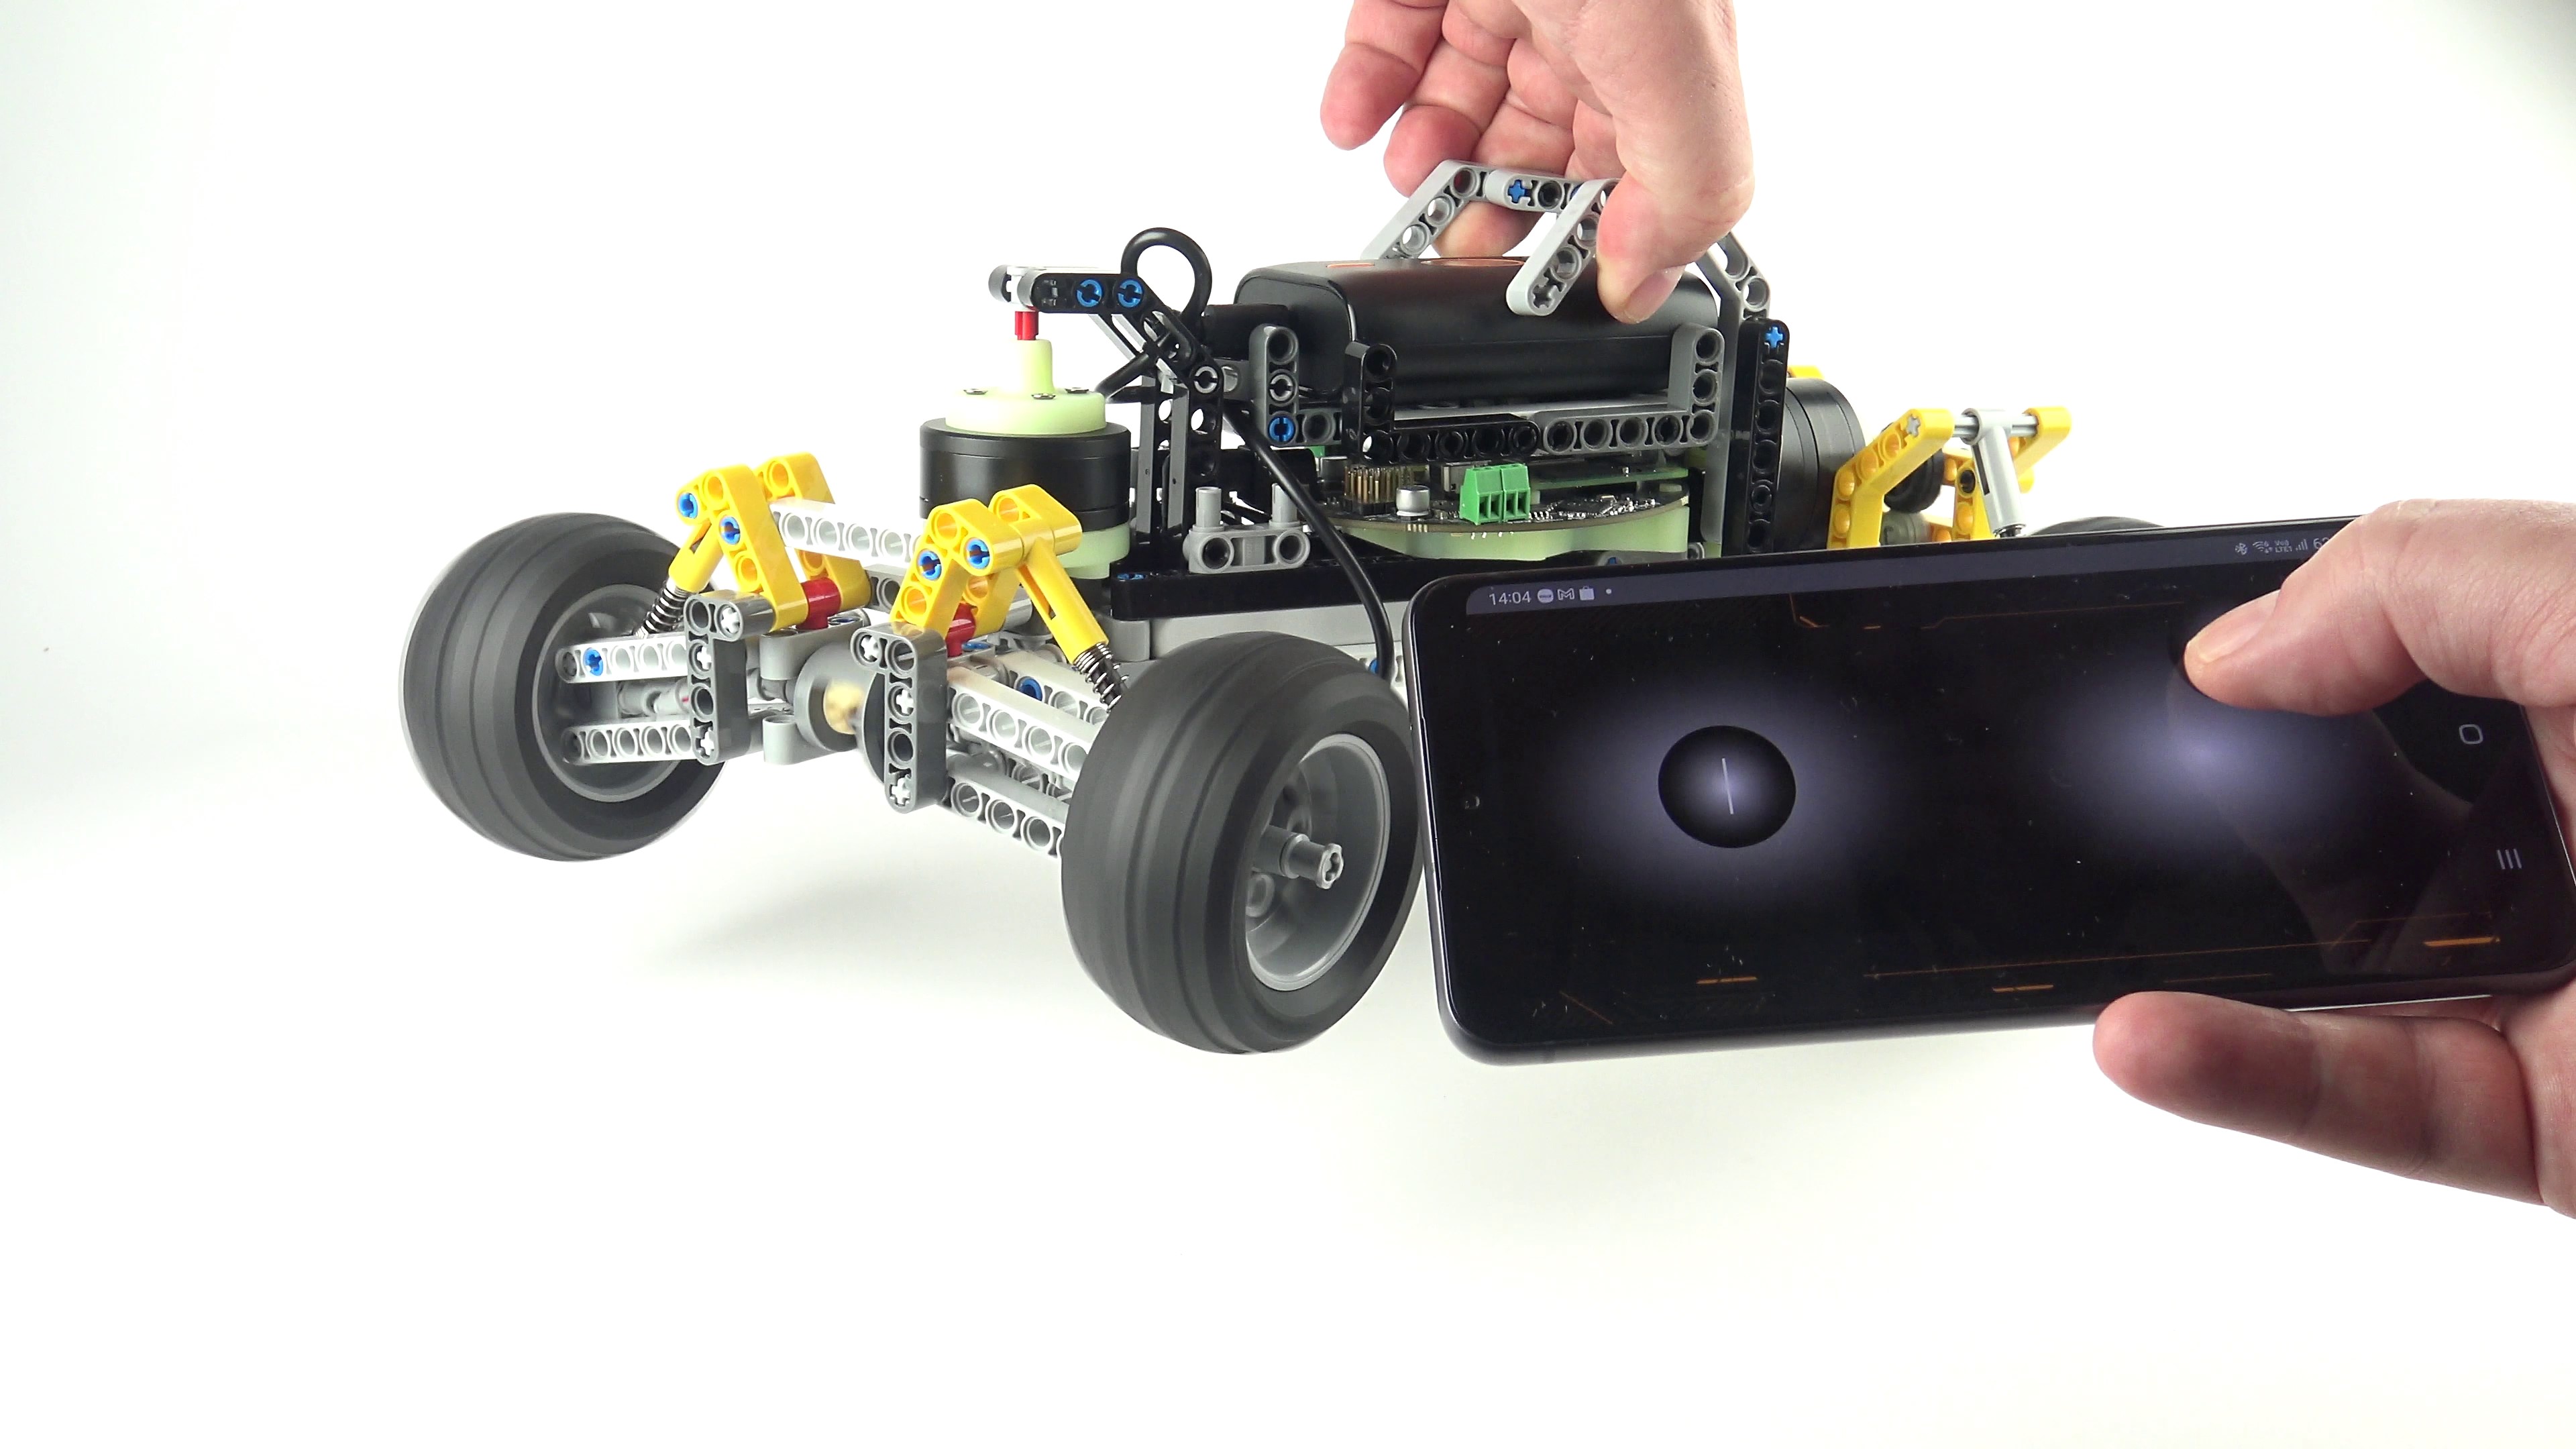
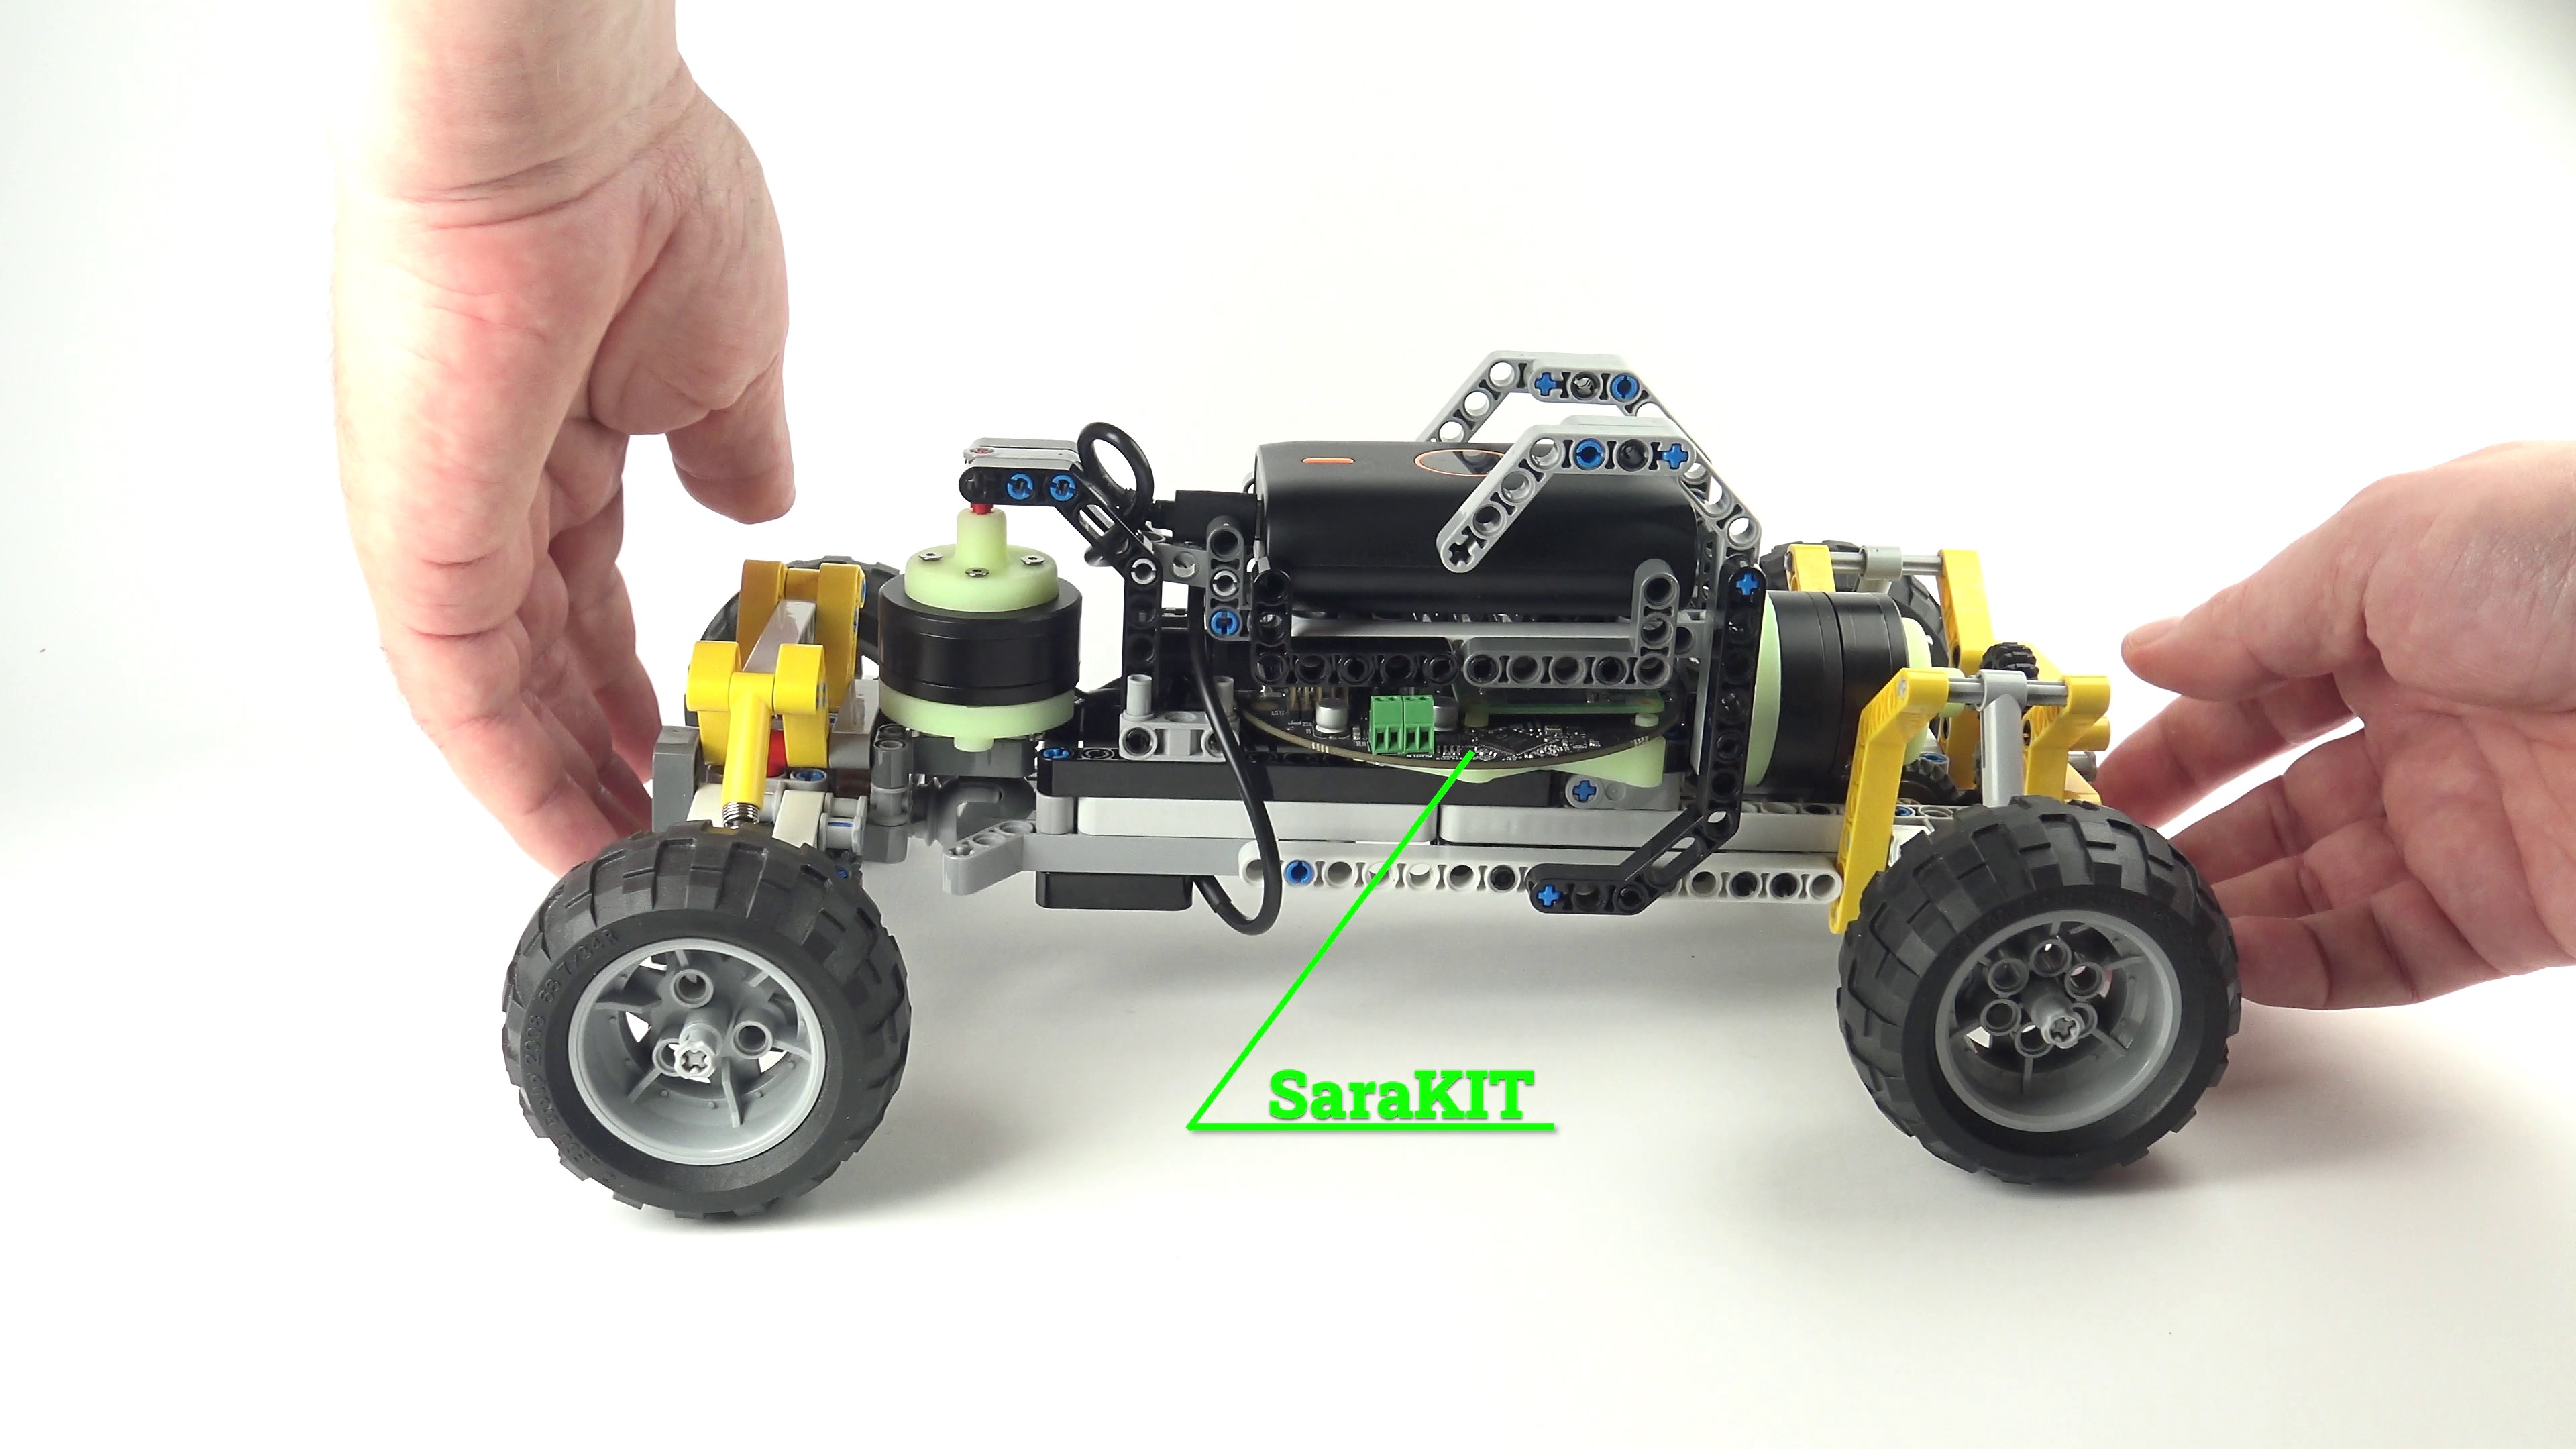
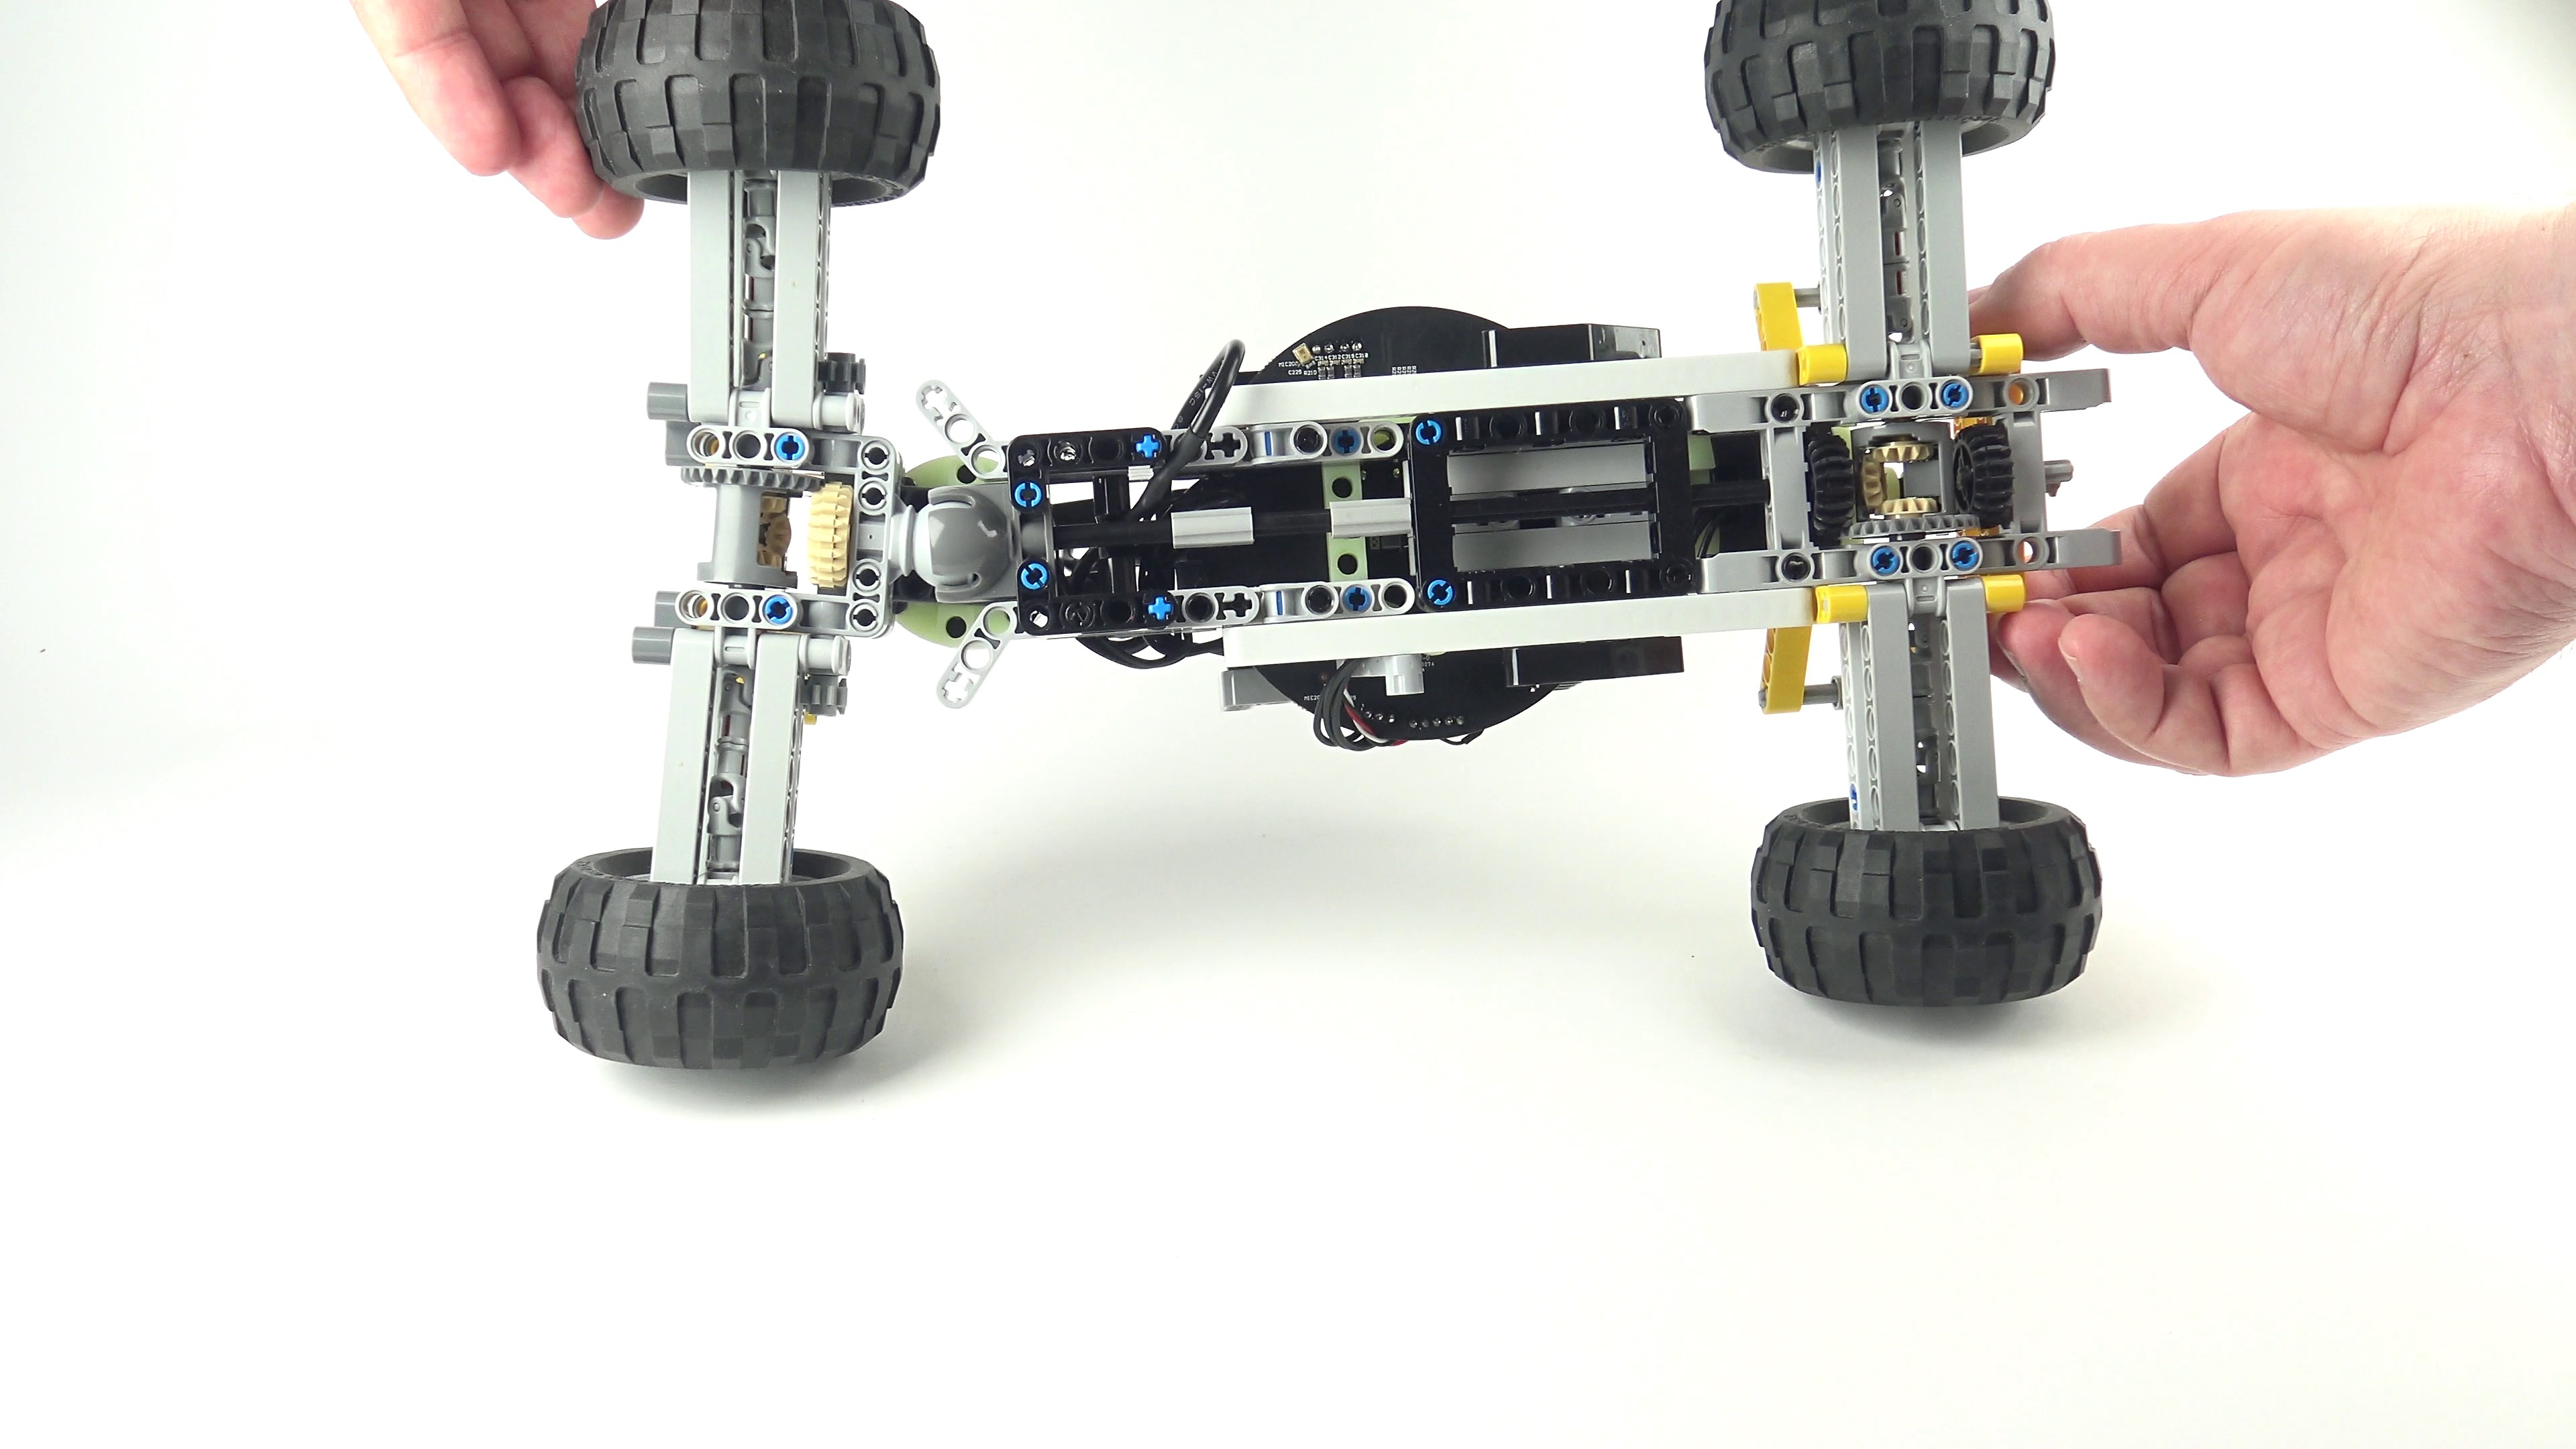
The car is powered by a power bank. For mobile devices, we recommend a simple connection to the PowerBank (PD2.0 PD3.0 Fast Charging and QC4 with USB-C output) with a special PD 12v cable. Or by connecting a USB cable via USB-C Pd Trigger Module Pd 12v.
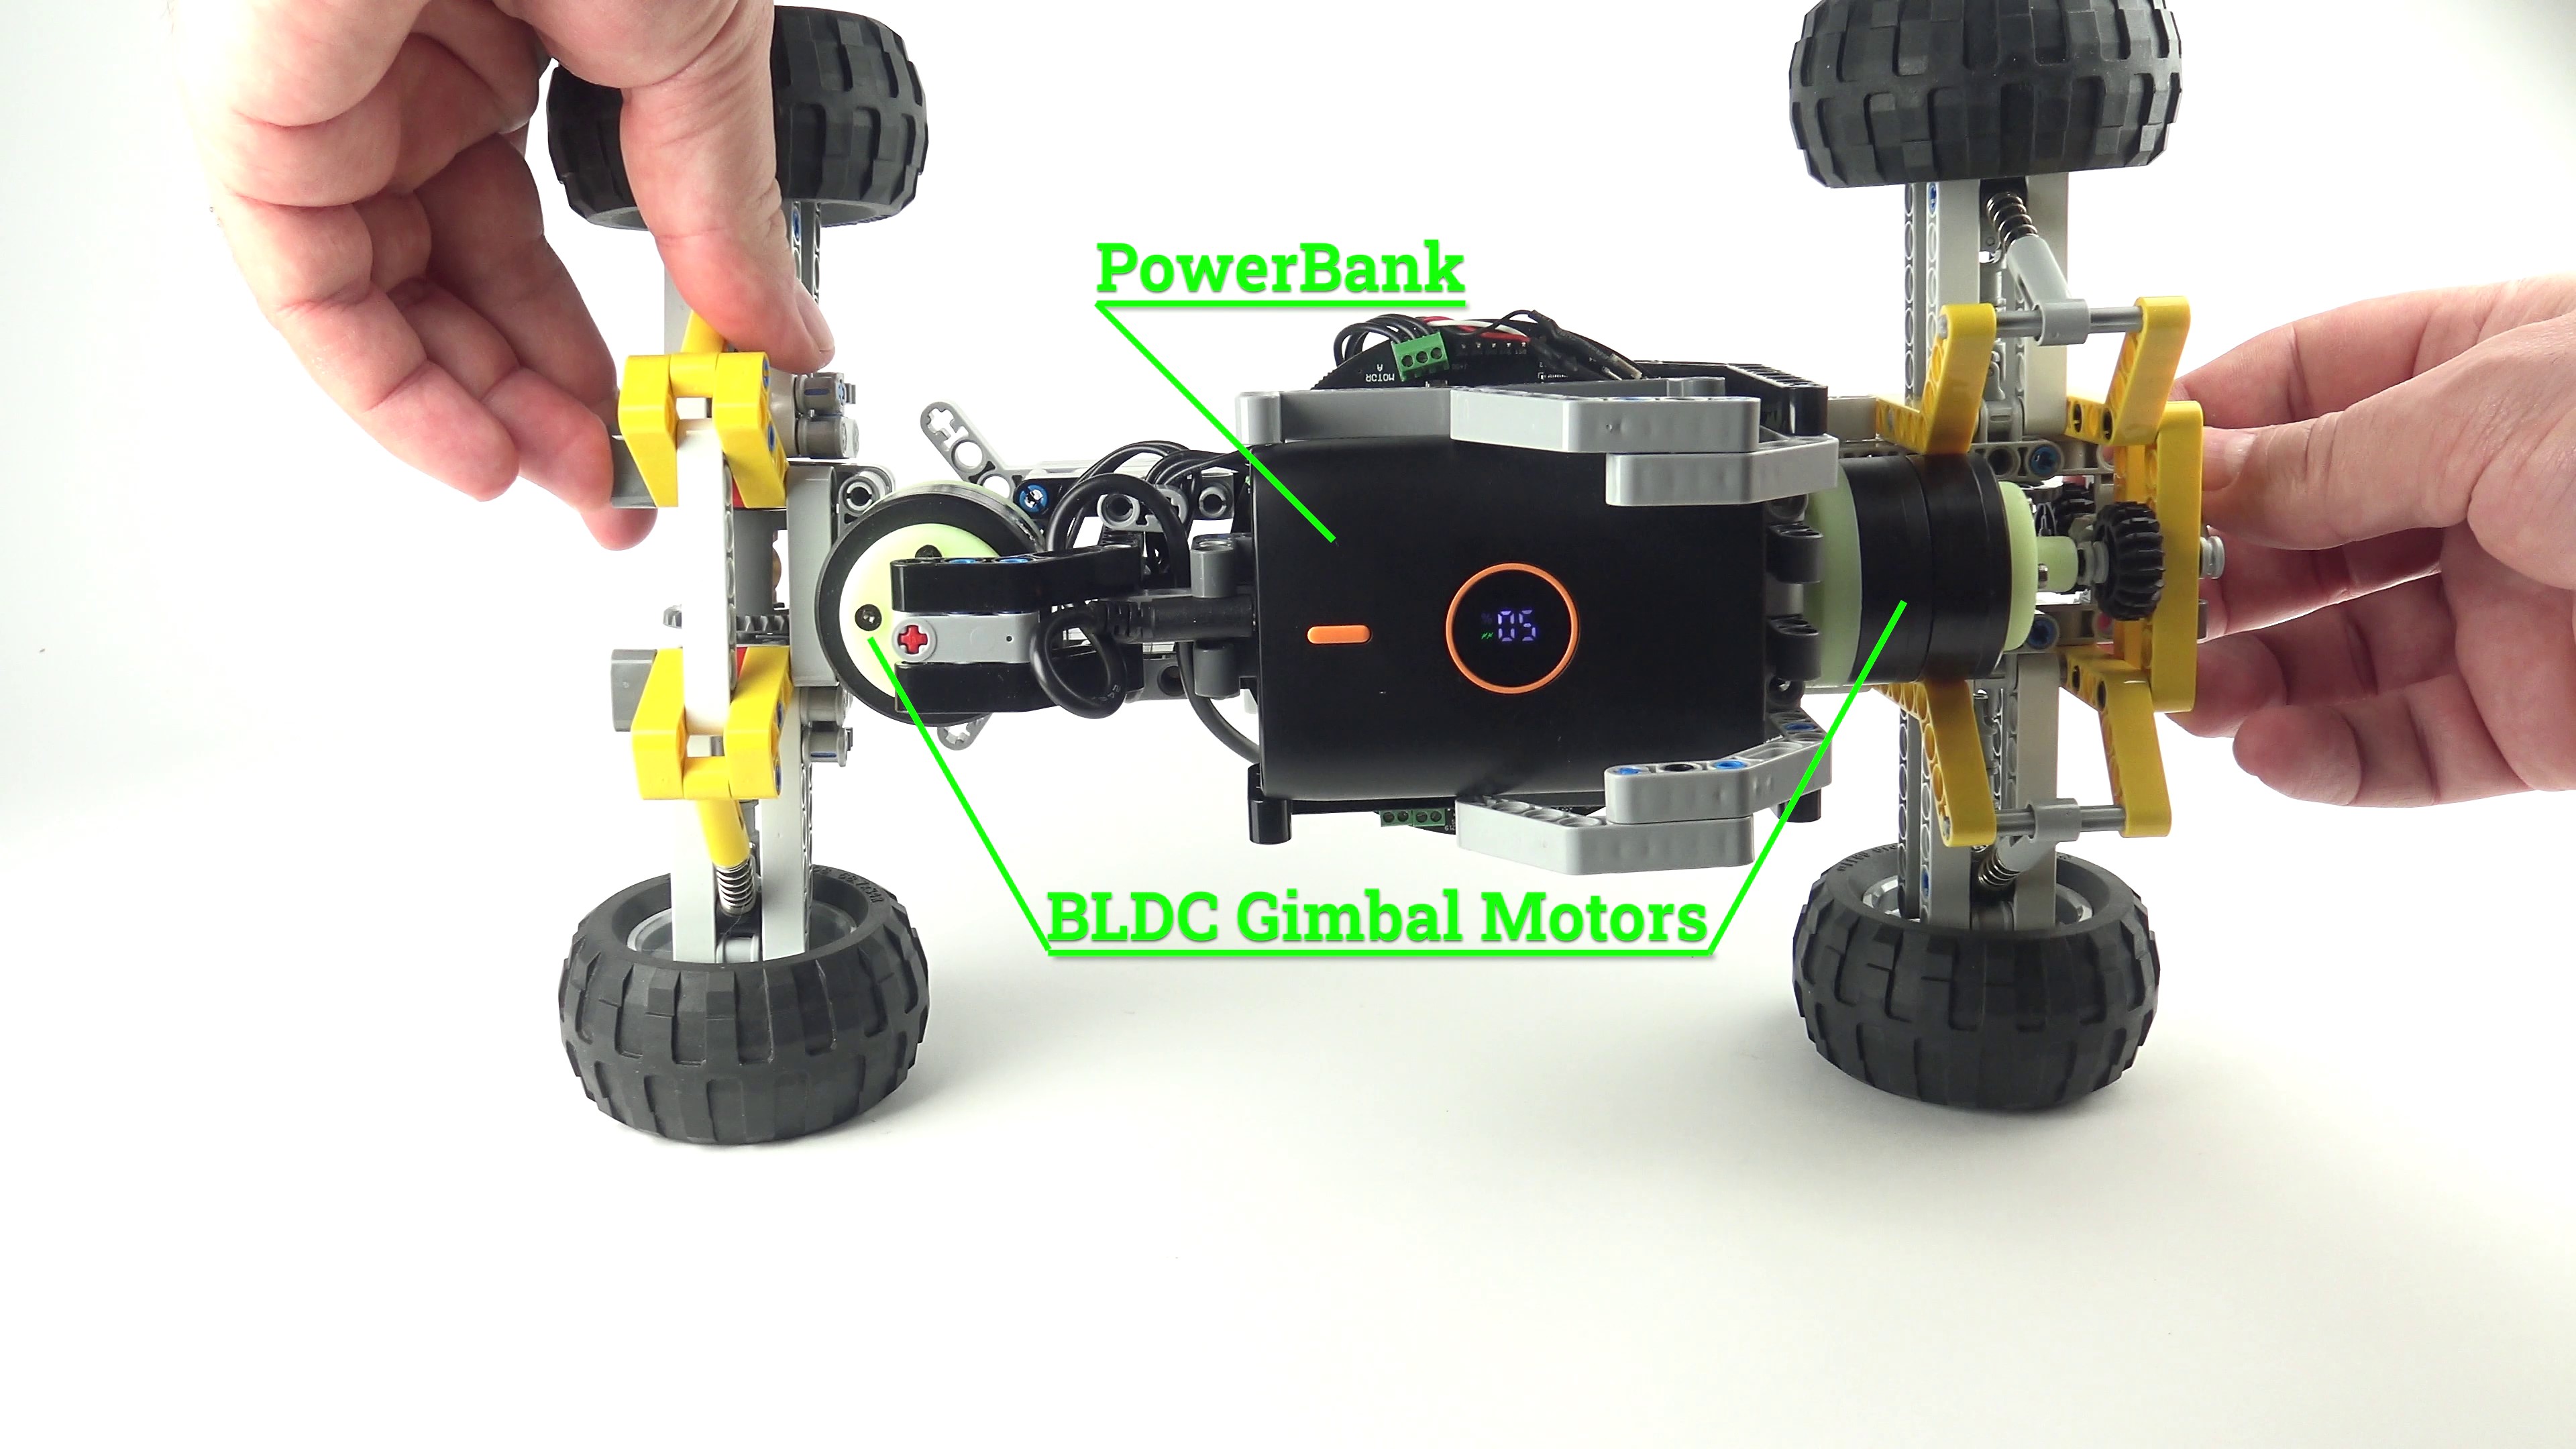
Two gimbals model GM3506 were used, 4-wheel drive independently, through two differentials, but you can do it simpler of course.
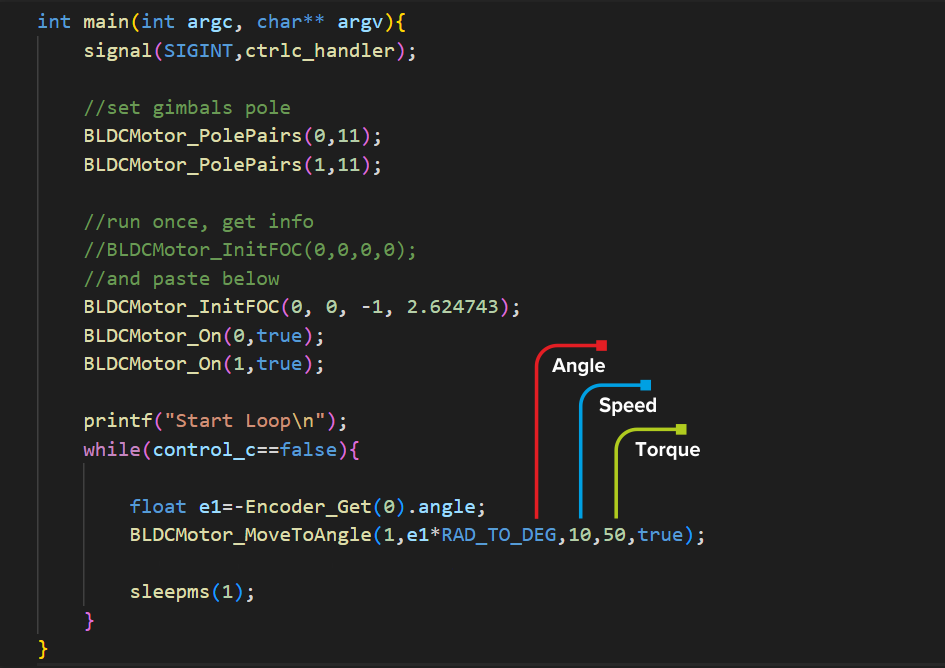
Sample code for motor control:
Full main RCCar code:
#include <iostream>
#include <signal.h>
#include <stdio.h>
#include <math.h>
#include <arm_neon.h>
#include "unistd.h"
#include <fstream>

#include "struct.hpp"
#include "lib/viewer/viewer.hpp"
#include "lib/SaraKIT/devices.hpp"
#include "lib/RC/remoteControl.hpp"

using namespace std;

cv::Mat frame0, frame0Gray, frame0GrayHalf, frame0GrayHalfEdge; // cam0
cv::Mat frame1, frame1Gray, frame1GrayHalf, frame1GrayHalfEdge; // cam1
cv::Mat imgProcessed;

ViewerStatus viewStatus;
RemoteControll rc;

//ctrl-c
void ctrlc_handler(sig_atomic_t s){
    printf("\nCaught signal %d\n",s);
    BLDCMotor_MoveStop(0);
    BLDCMotor_MoveStop(1);
    control_c=true;
}

int main(int argc, char** argv){
    signal(SIGINT,ctrlc_handler);

    bool isColorRGB;
    cv::Scalar ColorRGB(0,0,0);

	camwidth=640;
	camheight=480;

    imgProcessed=cv::Mat(camheight, camwidth, CV_8UC3);

    init_camera(0, camwidth, camheight, false, false, true, true, true);
    //init_camera(1, camwidth, camheight, false, camOpenCV, true, true, true);
    sleepms(200);

    //init_viewer(ViewMode::Camera0, ViewMode::Camera1, 1, false, true);
    init_viewer(ViewMode::Camera0,ViewMode::Processed);

    //set gimbals pole
    BLDCMotor_PolePairs(0,11);
    BLDCMotor_PolePairs(1,11);

    //run once, get info
    //BLDCMotor_InitFOC(0,0,0,0);
    //BLDCMotor_InitFOC(1,1,0,0);
    //return 1;
    BLDCMotor_InitFOC(0, 0, -1, 1.45);
    //BLDCMotor_InitFOC(1,1,1,5.60);

    BLDCMotor_On(0,true);//speed
    BLDCMotor_On(1,true);//steering

    //to vibrations, depends on the weight of the engine and what the engine is carrying
    //BLDCMotor_PIDVelocity(0, 50, 20, 0, 0);
    //BLDCMotor_PIDVelocity(0, 0.5, 20, 0, 0);
    //BLDCMotor_PIDAngle(0, 20, 10, 0, 0);


    int iz=0;
    while (_SPICheck()==false && iz<10) {
        iz++;
        sleepms(100);
    }

    int px=-1000;
    int py=-1000;
    int lastpx=px;
    int lastpy=py;
    int btn;
    //float startX=-Encoder_Get(0).angleDeg;
    float startX=0;
    printf("Start Loop\n");
    do {
        // Get frame to frame,frameGray,frameGrayHalf
        GetFrame(); //GetFrame()==1 (new frame from cam0, ==2 from cam1, ==3 from cam0 & cam 1)

        //button from the remote control
        btn=rc.getButton();
        if (btn==1) {
            printf("ButtonA pressed\n");
        }
        if (btn==2) {
            printf("ButtonB pressed\n");
        }
        if (btn==3) {
            printf("ButtonC pressed\n");
        }

        //RGB Color from the remote control
        rc.getColorRGB(&isColorRGB,&ColorRGB);
        if (isColorRGB) {
            printf("R:%.0f G:%.0f B:%.0f \n",ColorRGB[0],ColorRGB[1],ColorRGB[2]);
        }

        //speed/steering wheel from the remote control
        rc.getPos(&px,&py);
        if (px!=-1000 && lastpx!=px) {
            lastpx=px;
            BLDCMotor_MoveToAngle(1,px+startX,1,70,true);
            printf("%.2f PX\n",px+startX);
        }
        if (py!=-1000 && lastpy!=py) {
            lastpy=py;
            if (py>0)
                BLDCMotor_MoveContinuousTorque(0,1,(float)py);
            else
                BLDCMotor_MoveContinuousTorque(0,-1,-(float)py);
            printf("%.2f PY\n",(float)py);
        }

        viewStatus = viewer_refresh();

    } while (viewStatus != ViewerStatus::Exit && control_c != true);
    rc.stop();
    closing_function(0);
    return 1;
}
#Attention, BLDC motors get very hot (this applies especially to motors without encoders that adjust power to the load) - do not leave them operating at too high power - risk of burns and fire!
You can find C++ and Python code for Raspberry Pi4 in the
SaraKIT Github repository:
https://github.com/SaraEye
https://github.com/SaraEye/SaraKIT-RCCar-Raspberry-Pi
https://github.com/SaraEye/SaraKIT-RCCar-Python-Raspberry-Pi (Python version with XBox Controller)

