MENU
Getting Started
Example of Use
Community
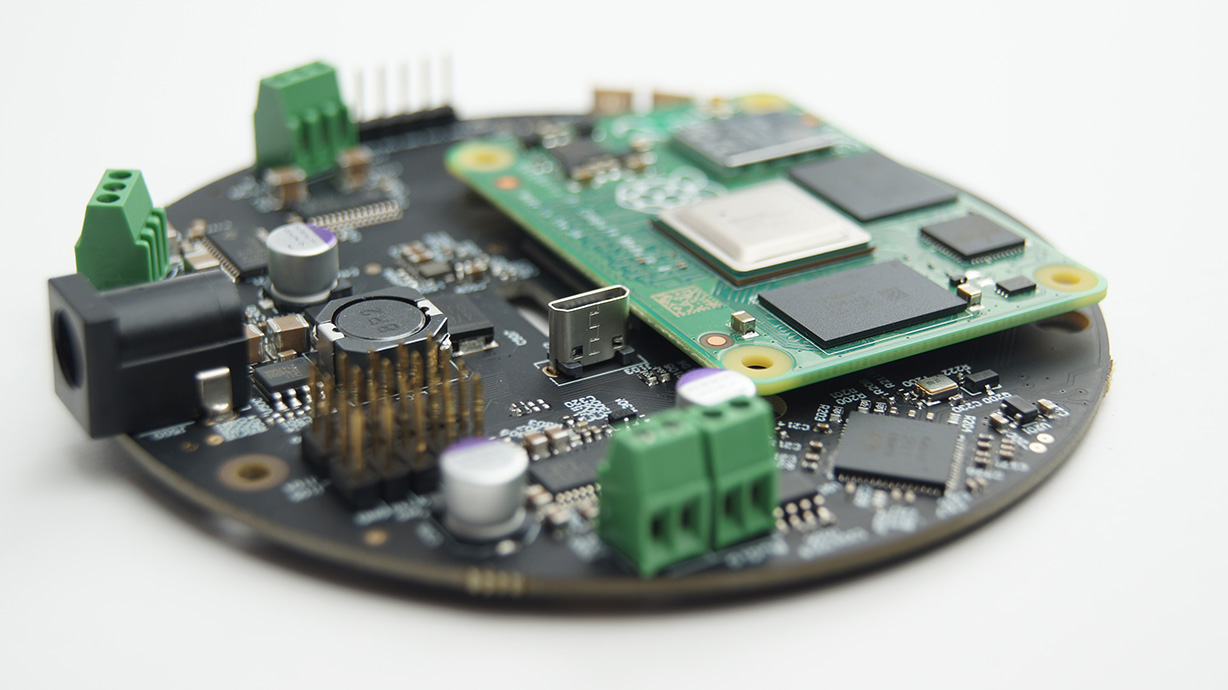
SaraKIT is a carrier board for the Raspberry Pi CM4. It is equipped with 3 microphones with sound localization function and a stereo output for implementing artificial intelligence and voice projects. Two independent BLDC drivers allow for quiet and precise motor control in mobile device projects. A CSI interface with two cameras. Two accelerometers, a gyroscope, and a temperature sensor.
Build modern, efficient and flexible voice products with Raspberry Pi, integrated with Amazon Alexa, Google Assistant, ChatGPT, etc.
Build voice-controlled robots. Interact with your home devices, office or other things in everyday life, all by voice..
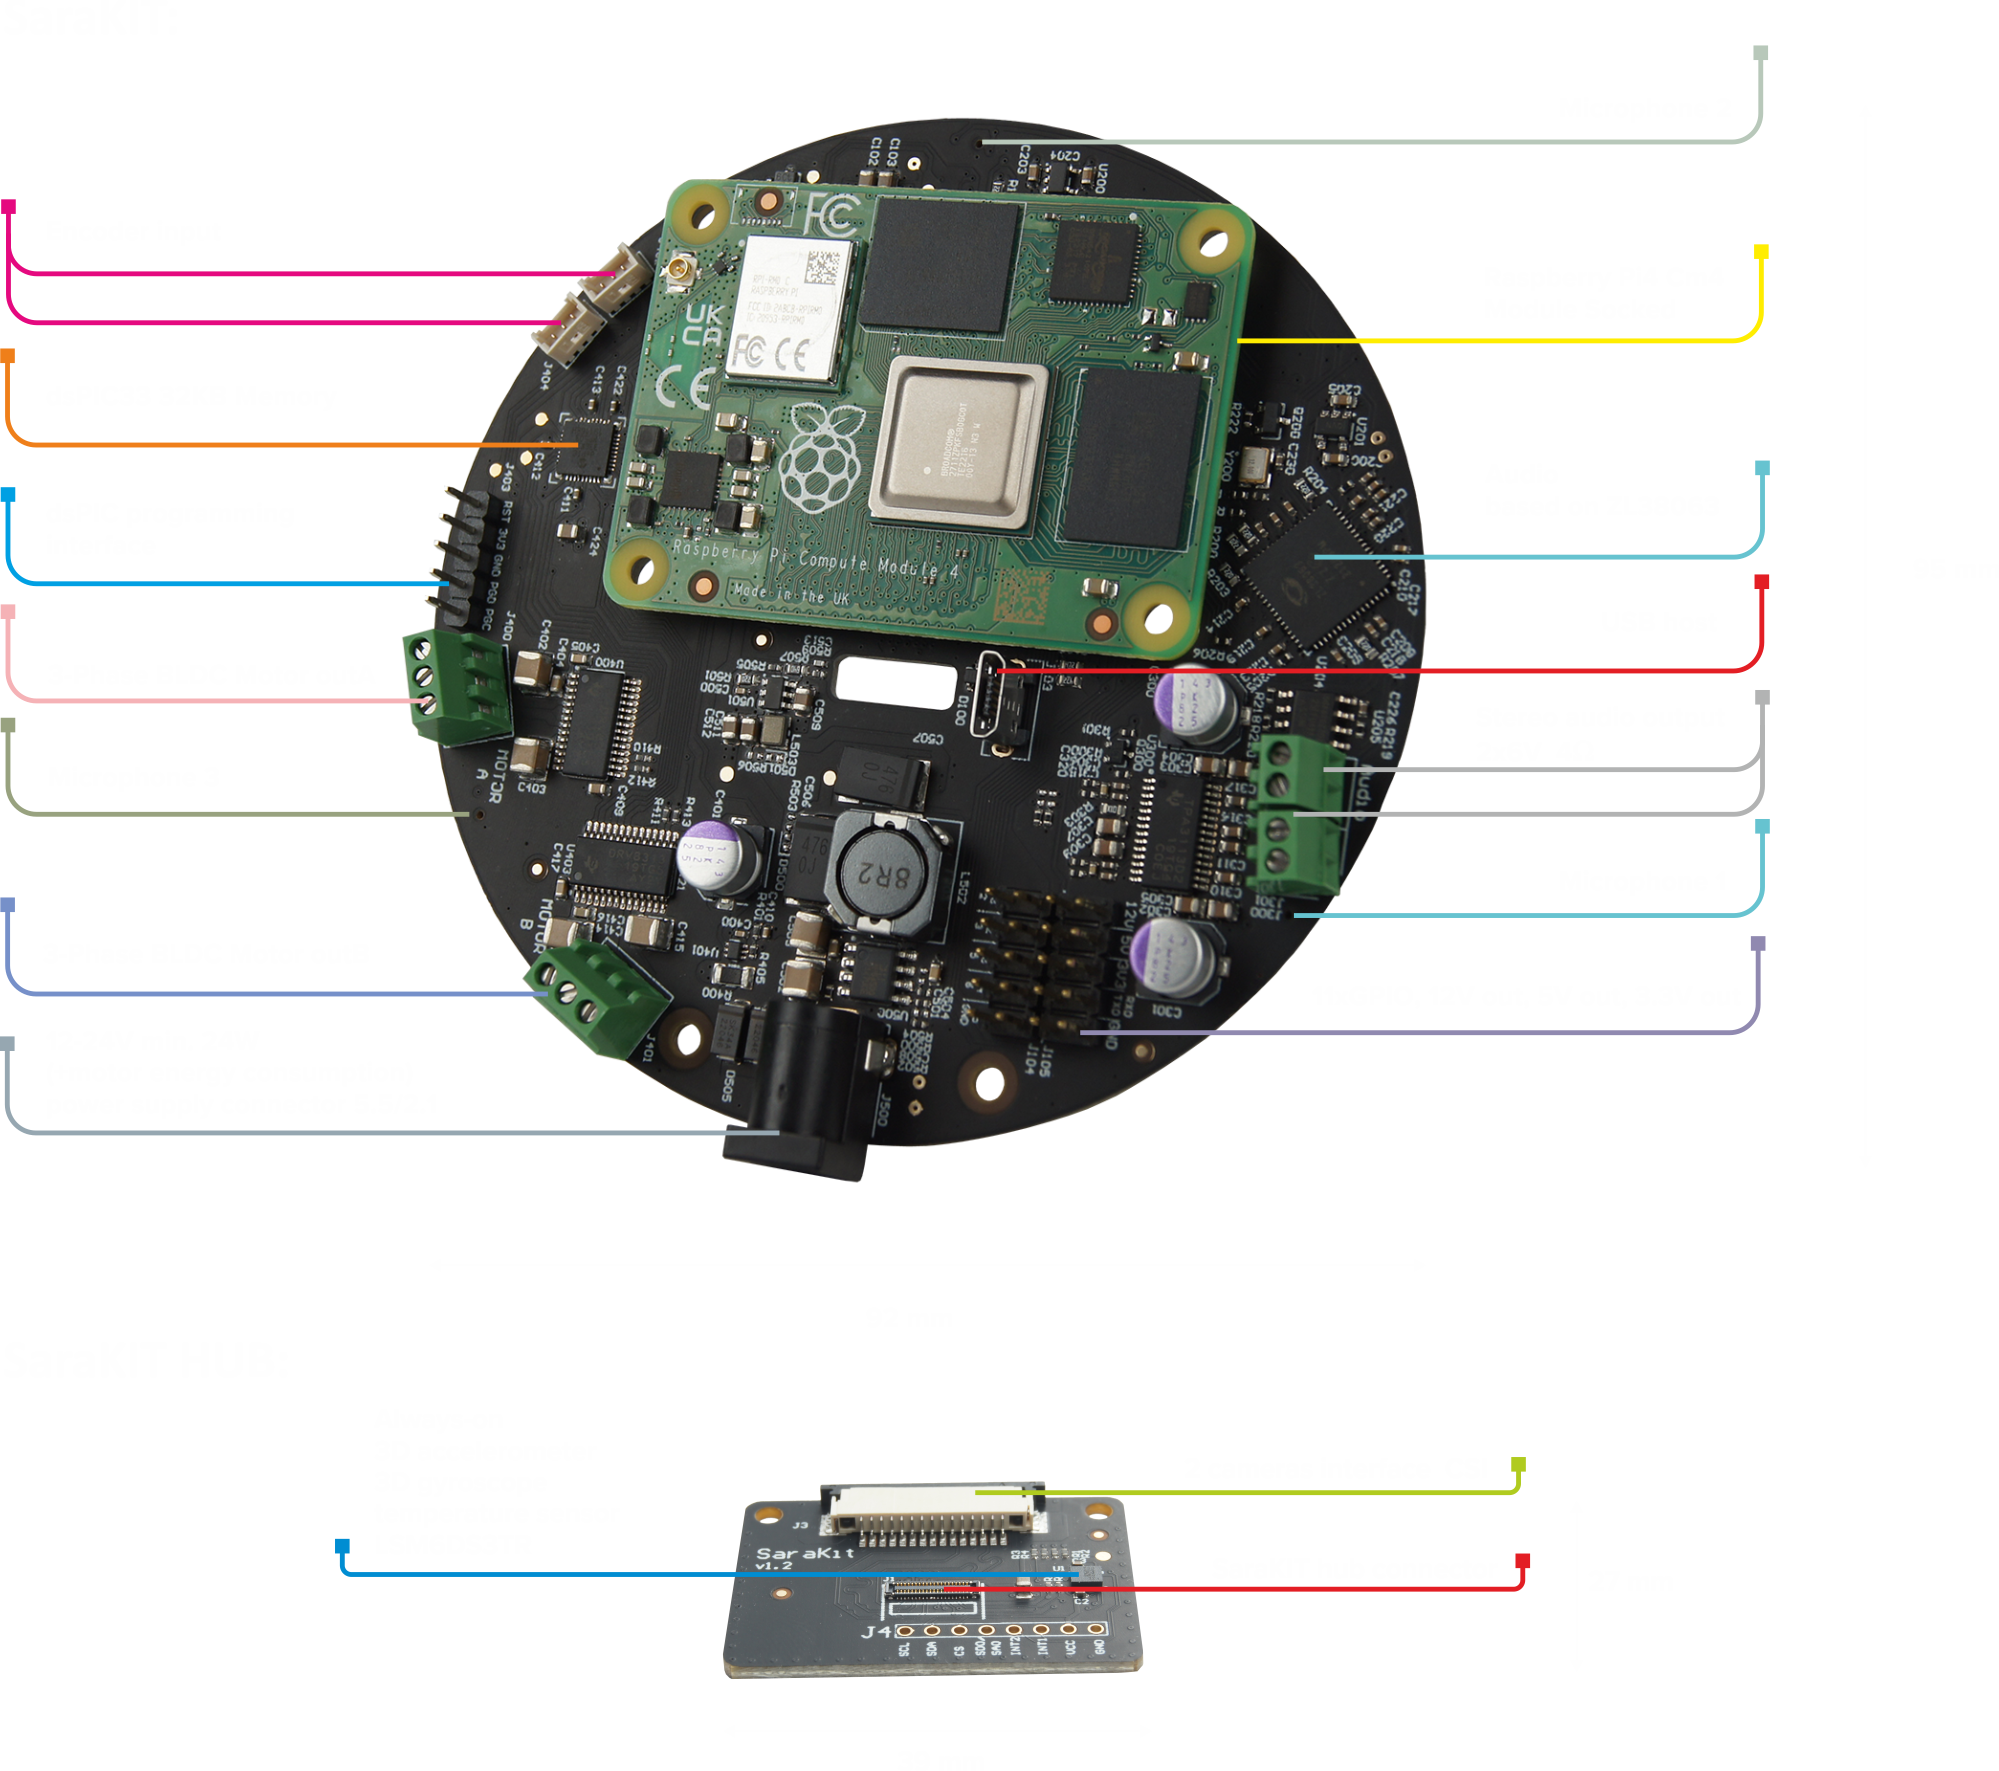
- Raspberry PI CM4 compatible socket
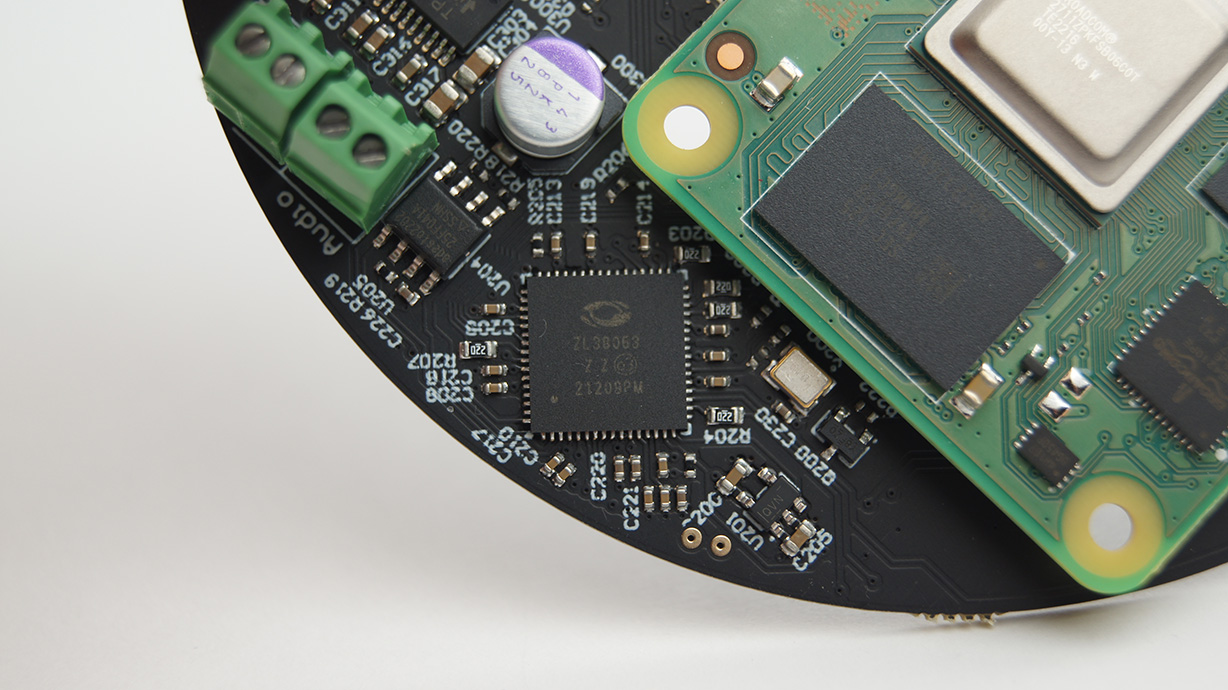
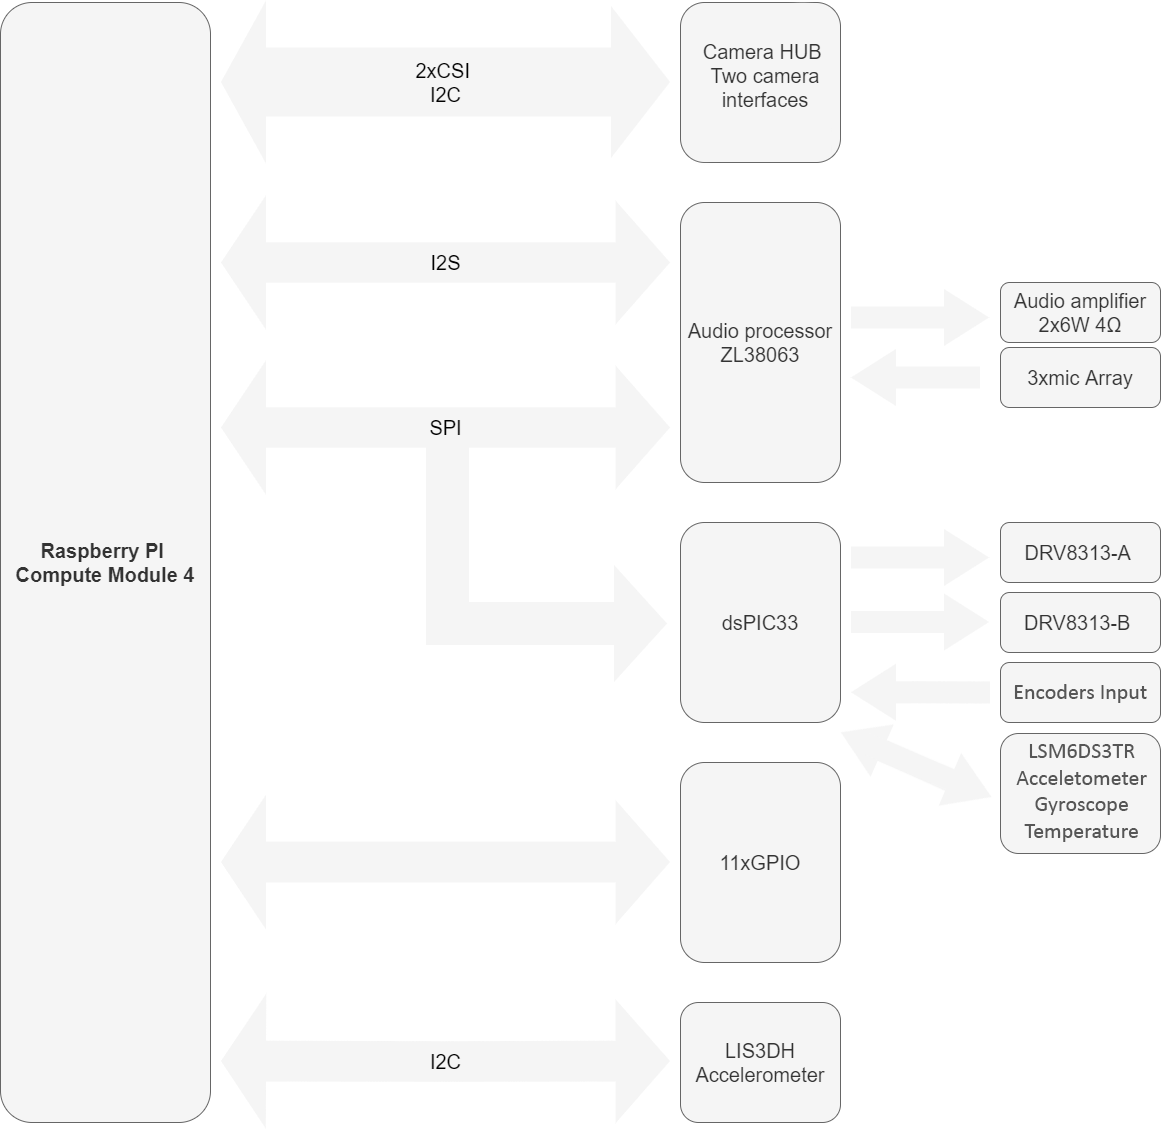
- Audio based on ZL38063
- three mirophones SPH0655
- Sensitivity -37dB ±1dB @ 94dB SPL
- SNR 66dB
- Amplified stereo output 2x6W 4Ohm
- three mirophones SPH0655
- Two three-phase bldc drivers DRV8313 65Vmax 3A-peek
- Two Encoder input (may be reprogramed as GPIO)
- 11 GPIO( UART, I2C, PWM..)
- Two camera interfaces CSI
- Digital Accelerometer LIS3DH, 3-Axis, 2g/4g/8g/16g, 16-bit, I2C/SPI interfaces
- always-on 3D accelerometer and 3D gyroscope and temperature LSM6DS3TR
- Embedded,programmable 16-bit microcontroller with 32KB memory dsPIC33
- Host USB
- Smart speaker
- Intelligent voice assistant systems
- Voice recorders
- Voice conferencing system
- Meeting communicating equipment
- Voice interacting robot
- Car voice assistant
- Other scenarios need voice command
- Other scenarios requiring quiet and precise motors
The SaraKit is set of three elements:
- Raspberry Pi Compute Module 4 Carier board
- dual CSI camera flex cable 17cm (Flex)
- Raspberry Pi camera standard CSI connection adapter (Hub)
Carefully install the flex cable by inserting into the J1 connectors on the bottom of the SaraKit main board and into the J1 of the camera adapter.
J2 and J3 connectors are standard CSI connectors. You can connect cameras compatible with Raspberry PI
Speech Recognition with SaraKIT
SaraKIT is equipped with three microphones and a specialized audio processor that clarifies the voice and supports speech recognition on Raspberry Pi, offering a significant leap in enabling offline, cloud-independent voice command functionalities. While many tools for speech recognition are available online, with cloud-based data analysis tools like Google Speech to Text being among the best and most efficient as discussed in another guide of mine, this article focuses on offline speech recognition—without the need for an internet connection.
In my search for the best and simplest-to-configure tool, I believe I've found a noteworthy solution currently recommended for offline speech recognition - Vosk API:
Vosk Speech Recognition Toolkit
Vosk is an offline open-source speech recognition toolkit, facilitating speech recognition in over 20 languages and dialects including English, German, French, Spanish, and many more. Its models are compact (around 50 Mb) but support continuous large vocabulary transcription, offer zero-latency response with a streaming API, feature reconfigurable vocabulary, and identify speakers. Vosk caters to a range of applications from chatbots and smart home devices to virtual assistants and subtitle creation, scaling from small devices like Raspberry Pi or Android smartphones to large clusters.
Vosk Homepage: https://alphacephei.com/vosk/
GitHub Vosk: https://github.com/alphacep/vosk-api
Installing on SaraKIT:
Assuming the basic SaraKIT drivers are already installed https://sarakit.saraai.com/getting-started/software, follow these steps to install:
sudo apt-get install pip
sudo apt-get install -y python3-pyaudio
sudo pip3 install vosk

git clone https://github.com/SaraEye/SaraKIT-Speech-Recognition-Vosk-Raspberry-Pi SpeechRecognition
cd SpeechRecognition
To use a language other than English, download the required language model from https://alphacephei.com/vosk/models and place it in the `models` directory.
Start speech recognition by running:
python SpeechRecognition.pyBelow is a script for speech recognition in your chosen language, available at
https://github.com/SaraEye/SaraKIT-Speech-Recognition-Vosk-Raspberry-Pi:
import os
import sys
import json
import contextlib
import pyaudio
import io
from vosk import Model, KaldiRecognizer

# Specify the Vosk model path
model_path = "models/vosk-model-small-en-us-0.15/"
if not os.path.exists(model_path):
    print(f"Model '{model_path}' was not found. Please check the path.")
    exit(1)

model = Model(model_path)

# PyAudio settings
sample_rate = 16000
chunk_size = 8192
format = pyaudio.paInt16
channels = 1

# Initialize PyAudio and the recognizer
p = pyaudio.PyAudio()
stream = p.open(format=format, channels=channels, rate=sample_rate, input=True, frames_per_buffer=chunk_size)
recognizer = KaldiRecognizer(model, sample_rate)

print("\nSpeak now...")

while True:
    data = stream.read(chunk_size)
    if recognizer.AcceptWaveform(data):
        result_json = json.loads(recognizer.Result())
        text = result_json.get('text', '')
        if text:
            print("\r" + text, end='\n')
    else:
        partial_json = json.loads(recognizer.PartialResult())
        partial = partial_json.get('partial', '')
        sys.stdout.write('\r' + partial)
        sys.stdout.flush()
The effects of this simple yet powerful script can be seen in the video below:
It might happen that you are utilizing the full power of the Raspberry Pi, for instance, for image analysis, and then you might find yourself lacking the processing power for speech recognition. In such cases, it will be necessary to use cloud analysis on a more powerful computer. You can set up your own server and continue to use Vosk, or you can opt for other tools like Google Speech to Text.
Text To Speech with SaraKIT
SaraKIT is equipped with three microphones and a specialized sound processor that cleans voice audio and supports speech recognition on Raspberry Pi from distances up to 5 meters, as described in our "Speech Recognition" section. However, to complete the setup, we now turn our attention to text-to-speech (TTS) processing, which can be incredibly useful for building voice assistants, talking devices, or integrating with Home Automation (HA) systems. While the best TTS systems currently available are online services like ElevenLabs (paid) which offers top-notch voice quality, or Google Text to Speech (detailed in a separate section), here we focus on offline text-to-speech processing.
After scouring the internet for the best current offline, fast, and easy-to-install option, Piper stands out as the top choice (if you find something better, please let us know).
Piper is fast, generates high-quality voice in real-time, and is optimized for Raspberry Pi 4. Although its installation is straightforward, I have further simplified it for you, and a demo with a description is provided below.
You can test Piper at:
https://rhasspy.github.io/piper-samples/
Piper on GitHub:
https://github.com/rhasspy/piper
https://github.com/rhasspy/piper-phonemize (an additional component)
Voices for Piper:
https://huggingface.co/rhasspy/piper-voices/tree/main
Installation on SaraKIT
Assuming the basic SaraKIT drivers are already installed https://sarakit.saraai.com/getting-started/software, follow these steps to install Piper:
sudo apt-get install libasound2-dev
sudo apt-get install libfmt-dev
sudo apt-get install libspdlog-dev
git clone https://github.com/SaraEye/SaraKIT-Text-To-Speech-Piper-Raspberry-Pi piper
cd piper

sudo cp -r lib/piper/lib/*.* /usr/local/lib/
sudo ldconfig

make
To use a language other than English, download the required language model from https://huggingface.co/rhasspy/piper-voices/tree/main and place it in a directory, e.g., `lib/piper/models`.
Start speech recognition by running:
./ttsDemoBelow is the text to speech script in your chosen language, available at:
https://github.com/SaraEye/SaraKIT-Text-To-Speech-Piper-Raspberry-Pi:
#include <functional>
#include <iostream>
#include <string>
#include <signal.h>

#include "lib/piper/piperclass.hpp"

using namespace std;

int main() {
	//Choose your language and voice
	piper::PiperClass piper("lib/piper/models/en/amy/en_US-amy-medium.onnx", "lib/piper/lib/espeak-ng-data");

    while (true) {
        string text;
        cout << "Enter the text to synthesize (CTRL+C to finish): ";
        getline(cin, text);

        piper.say(text);
    }

    return EXIT_SUCCESS;
}
The effects of this simple yet powerful script can be seen in the video below:


